Create a Matching Rule Schedule
Matching rule schedules are configured to be active on specific days of the week, at specific times on those days. The option is available to specify dates or date ranges which apply to those selections.
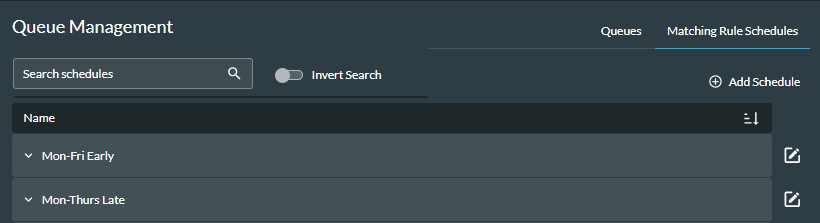
- Navigate to Queue Management > Matching Rule Schedules.
- Click the
 Add Schedule button.
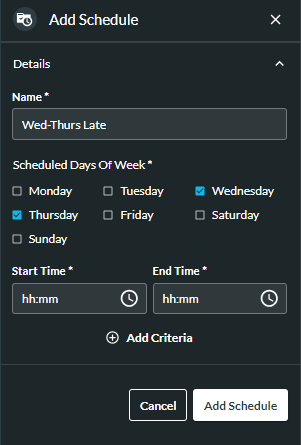
- Enter a meaningful name for the schedule. It must be unique.
- Select the days of the week on which the schedule will be active.
Note: at least one day must be selected.
- Using the 24-hour clock format, type the times between which the schedule will be active on the selected days, or use the Clock
 buttons to select the times.
 - Optionally, at the Date field, select a specific date or date range during which the schedule will be active for the selected days and times.
Note: only one date or date range can be selected for each set of criteria.
- Click the Add Criteria button.
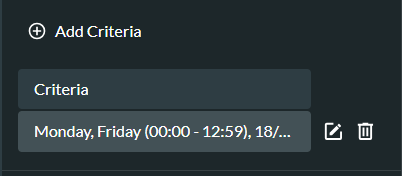
For example: in the images shown above, the schedule is active on each Monday and Friday between 00:00 and 12:59, from 18/08/25 up to and including 21/08/25.
- To add additional criteria to the schedule, click the Add Criteria button, enter the details and click the Add Criteria button.
You can delete criteria by clicking the Delete ![]() button.
button.
- To save the schedule, click the Add Schedule button at the bottom of the page.
- You can now assign the schedule to a matching rule.