Configure the Presentation CLI
OUTBOUND allows you to present a different CLI to the customer being called (based on, for example, which products they have purchased or where they are based geographically) so that return calls are routed to the relevant department.
This is managed using Dial CLI profiles, which allow you to associate values that might be found within a specific column in a specific table view being used by the campaign with the relevant CLI.
CLI profiles can be created manually, by adding each of the unique value/CLI pair in turn, or by importing a CSV file.
When setting up the campaign, you are able to specify a fixed presentation CLI, which is displayed to everyone who is called; or you can select a CLI profile.
You must:
- Create a Dial CLI profile
- Assign the profile to the OUTBOUND campaign
Create a Dial CLI Profile
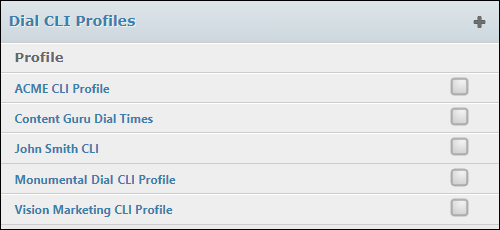
- From the STUDIO main screen, select OUTBOUND > Dial CLI Profiles.
- Select the + New Profile button.
- Name the profile and then enter a value-CLI pair in the fields. The values must match those in the DATA MANAGEMENT table view column assigned to the campaign.
- Use
 to add further pairs.
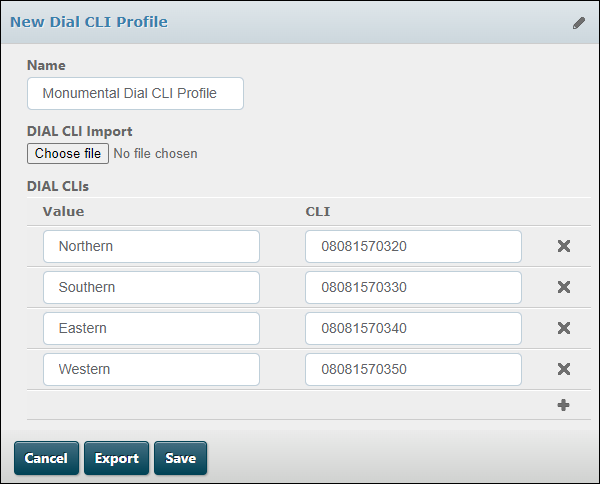
- Click Save.
Note: you can import value-CLI pairs from a CSV file using the Choose File button. The file must have two columns as shown:
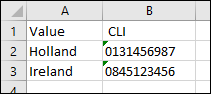
Enter a name for the profile, prior to clicking the Choose file button.
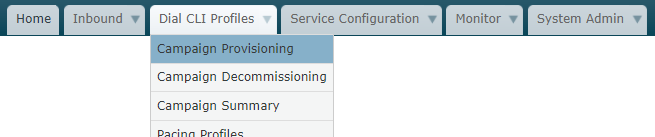
Assign the Dial CLI Profile to a Campaign
- From the third tab, select Campaign Provisioning.
- Select the campaign (indicated by the 'Service')
- For Presentation Address, select 'Variable'.
- Select the Table View Column (configured in DATA MANAGEMENT) that contains the values in the DIAL CLI profile, and then select the DIAL CLI profile.
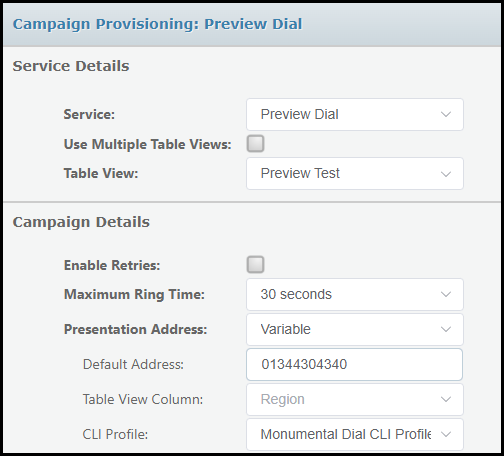
- Click Save.